
Idea Conception
For our individual vinyl projects, we were asked to make a design for a vinyl print in Adobe Illustrator, using 3 different colors in the design. I had to come up for an idea of what kind of design to make, and where I was going to put the vinyl so I knew how big it had to be. After an absolutely thrilling season playing for the Waunakee basketball team, I decided that that was what I wanted to make my vinyl about. I wanted to make a vinyl of the Waunakee basketball logo, and I am planning on putting it on my personal laptop at home.
Creation Process
|
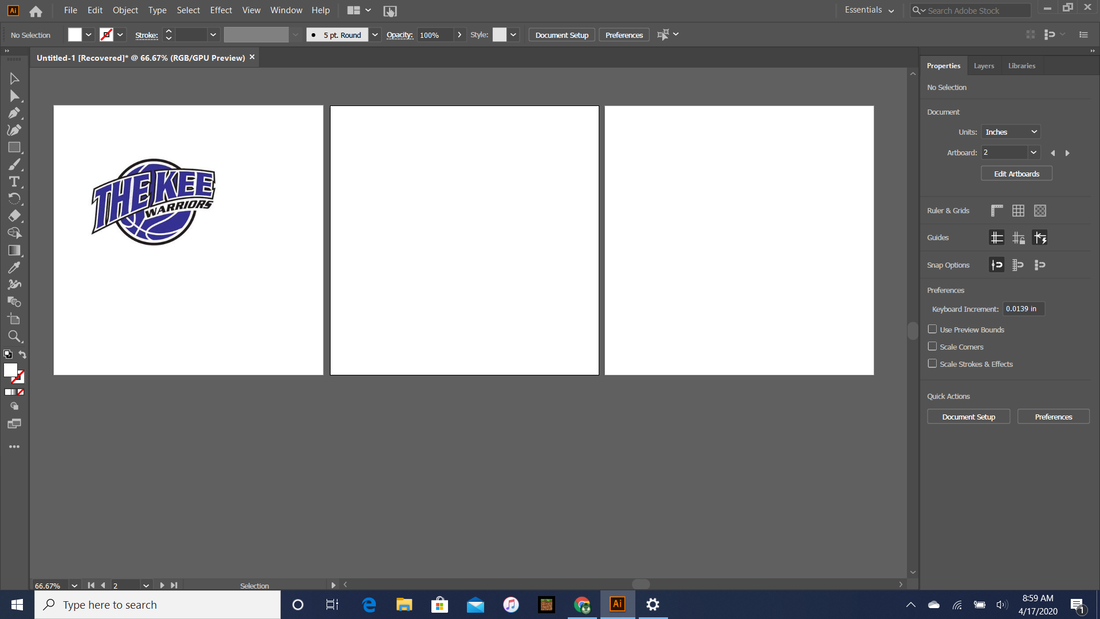
I started by making the artboards that I was going to make the logo on. I needed 3 of them for the 3 colors, and decided to make them each five square inches since I didn't need them to be too big. Next, I went to google and copy and pasted a good logo into the artboard.
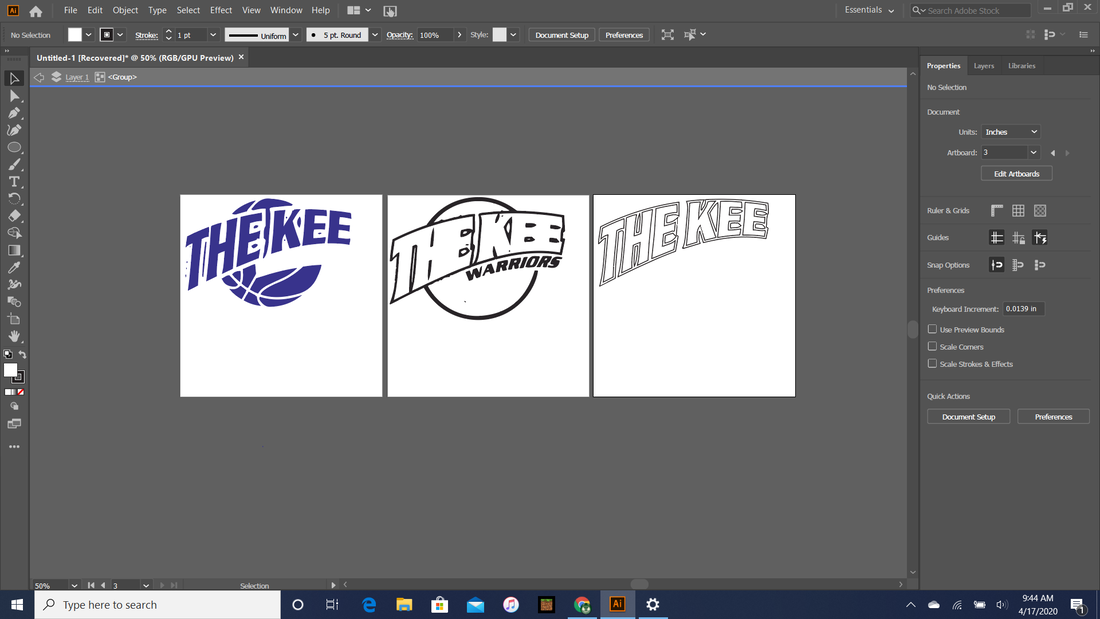
Next, I needed to split up the image by color and put those pieces on different artboards. I split the logo by color and moved the parts into the necessary artboards. I played around with the definition settings a bit for each part in order to get the nicest looking edges, they looked very wavy at first. Once all of that was done, I made the outlines black on the lettering "The Kee" since the letters were all white. |
|
Unfortunately, I was not able to get anymore photos. I could not get any screenshots of the setup in the vinyl cutter software, photos of me getting my vinyl ready to apply, or pictures of the vinyl applied to the final product due to COVID-19 and us not being able to access the machines at school.
Summary
I feel like going into this rotation, I still didn't know much about Adobe Illustrator. I couldn't perform this project with my previous knowledge of Illustrator, but after a call with Mrs. Proctor, I understood how to do it correctly. This rotation helped me learn more about Adobe Illustrator.
